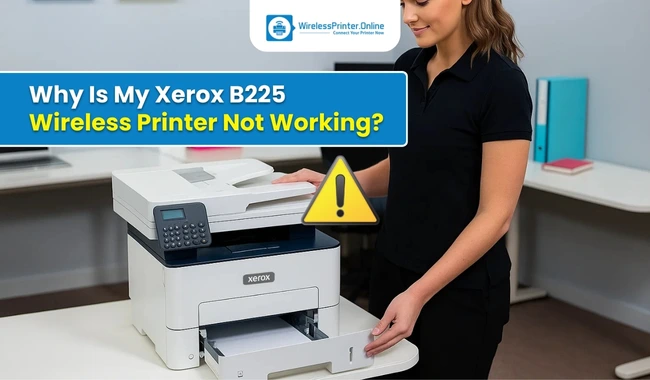
Why Is My Xerox B225 Wireless Printer Not Working? (Full Guide)
- Lary Whitney
- Sep 18, 2025
- 4 min read

A Xerox B225 wireless printer may not work under certain circumstances, such as when the connection is faulty, printer drivers are outdated, printer settings are incorrect, or the print queue is overflowing with jobs. If you are facing such problems, this blog will guide you through the best solutions. Over time, I have dealt with many printer-related issues and learned the right ways to fix them. Let’s go through each solution step by step in this blog.
Why Did My Xerox Printer Stop Working?
The Xerox wireless printer doesn’t stop working all of a sudden; it has certain underlying issues happening inside. As a result, it shows issues with printing and doesn’t respond well. Here are the most common reasons for this printer not working.
Power issues
Weak or unstable internet connection
Outdated printer drivers
Incorrect printer settings
Due to any of these problems, a Xerox B225 printer may stop working. However, there are ways to fix the issue and make the printer work all over again.
How to Get Xerox B225 Printer Working Again: 4 Easy Ways
As you know, there are several possible reasons why this printer is not working, and now is the time to learn the troubleshooting methods. I will share the easiest methods that will work for you. Here are those methods in detail.
Method 1: Check Power and Cable Connections
Make sure the printer is connected to the power supply and the cord is not loose. If it’s loose, tighten it or remove and replug it. As the printer is wireless, check the Wi-Fi connection. Also, restart the wireless router by disconnecting it from the power socket and then reconnecting it after 30 seconds.
In many cases, loose connections are the biggest reason for the printer’s problem. So, try correcting the connections to see if it fixes the issue.
Method 2: Update Xerox Printer Drivers
Printer drivers are the software that help a printer communicate with the computer and respond to the print commands. If these drivers are not up to date, the printer won’t work properly. Here is how I update the printer drivers easily.
To start, navigate to xerox.com/support on an internet browser.
Enter your printer model in the search bar and select the Drivers & Downloads link from the list.
Select your operating system, accept the terms and conditions, and click the Download button.
Let the driver file download completely on your computer.
Locate the Downloads folder, and double-click on the driver’s file.
Allow the driver file to install by following the on-screen instructions.
That’s how to install the latest printer drivers for the Xerox B225 printer. If the printer’s problem persists even after updating the drivers, follow the next methods.
Method 3: Set Your Xerox Printer as Default
If the Xerox printer is not set as a default printer, it won’t work properly. A default printer means that it will be selected automatically for a print job. If the computer doesn’t select it for the print job, you won’t get the print. Here are the steps to set the printer as the default.
Click the Windows icon on the taskbar of the Windows computer and search for Settings.
Select Bluetooth & Devices from the left sidebar, and then select Printers & Scanners.
Select your printer’s name, and then click on Manage to check its properties.
Enable the option “Let Windows manage my default printer.”
You can also select the default printer settings, including paper size and color, under the Printing Preferences.
Method 4: Uninstall and Reinstall Your Xerox Printer
When the printer is not working even after following the basic troubleshooting steps, it’s time to remove and reinstall it on the computer. This process reinstalls the printer and often fixes technical issues.
Step 1: Remove the Printer
Go to the Start menu on the computer’s taskbar and search for Settings.
Select Bluetooth & Devices, and then select Printers & Scanners.
Click on your printer from the list and click Remove to uninstall the printer.
Step 2: Uninstall Printer Drivers
Again, go to the Settings, click Apps, and then click on Installed apps.
Locate the printer driver file and uninstall it.
Now, visit the Xerox website to download and install the latest printer drivers.
Note: If you have already updated the drivers, skip this step.
Step 3: Re-add Your Printer
Go to the Start menu on the computer’s taskbar.
Search for Settings and click the Bluetooth & devices option.
Select Printers & Scanners and click the Add button next to add a printer or scanner.
Select your printer from the list and let it connect.
Finally, your printer is re-added to the computer.
Final Words
All the methods that I have explained are simple and beginner-friendly. Whenever the Xerox wireless printer doesn’t work, the reasons involve weak connections, incorrect printer settings, and out-of-date printer drivers. However, you can fix the problem by following the easiest methods mentioned in this blog. These methods are effective for resolving most Xerox printer issues.
Frequently Asked Questions
How Do I Reset My Xerox B225 Printer?
Follow the steps in the section below to reset your printer:
Go to the printer’s control panel and press the Settings button.
Tap the Device option, and select Resets.
Then, select Reset to Factory Defaults.
You will see a prompt about which settings to restore. Select Printer settings.
Click on Reset to start the process, and wait until it resets completely.
Why Update Xerox Printer Drivers to Fix the Problem?
Printer drivers are the software that allow your printer to communicate with the computer and process print commands. These drivers are available on Xerox’s official website, and users can install them easily. If the drivers are not installed, the printer won’t print anything.
How to Check if My Internet Connection Is Weak for Xerox Printer?
To check if the internet connection is weak for the printer, take a test print. If the printer fails, check the internet speed on the computer using an online speed test. If the speed is less than the required range, restart the Wi-Fi router.


Comments